
Ever wondered what the essence of an axe sheath is?
Or are you stuck on how you can create your perfect and fully functional DIY axe sheath?
We’ll explain how to make an axe sheath with suitable materials. Let’s get to it right away.
Tools and Supplies Required
Templating Tools
- Pencil
- Ruler
- Eraser
- Template material
Cutting Tools
- Gingher-serrated scissors
- Box cutter
- 3/16 inch hole punch
- Razor blade
General Tools
- Skiving knife
- Edge beveled
- V-groover
- Silicon glue spreader
- Rotary hole puncher
- Scratch awl
- Fie Bing’s Leathercraft Cement
- Weighted Maul/mallet
Stitching Tools
- Stitch marker
- Stitch groover
- Harness needles
- Wood edge dye dauber
- Thread
- Diamond awed chisels
Edge Finishing Tools
- Soft cloth
- 600 grit sandpaper
- Cocobolo edge burnisher/canvas cloth
- 220 grit sandpaper
- 50/50 paraffin and beeswax mixture
Rivet and Snap Setting Tools
- Rivet
- Lignite 24 snaps
- Hand press
- Saddle skirting
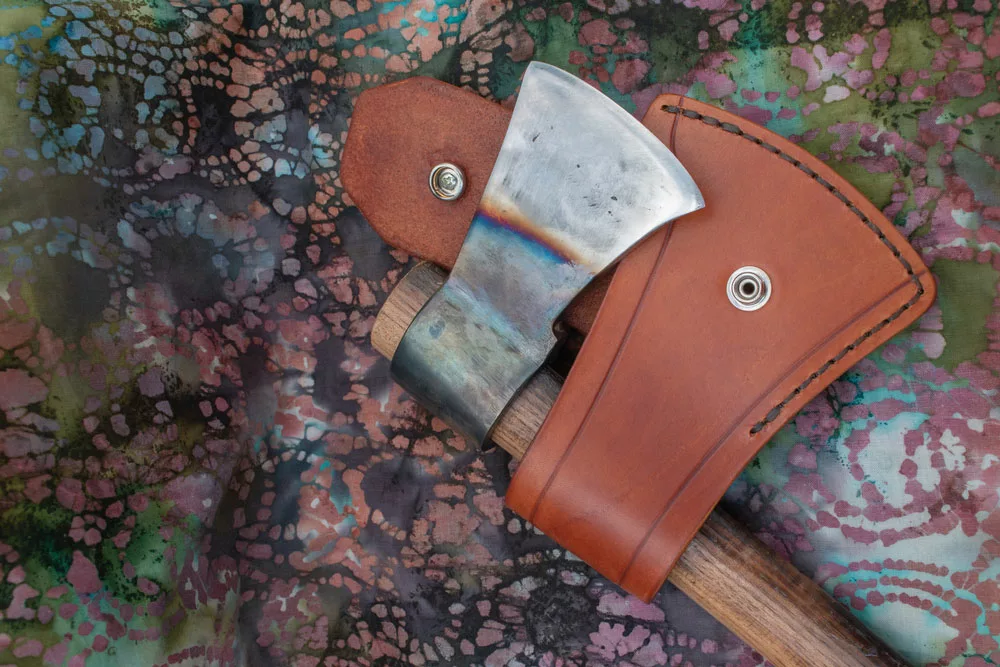
Axe with a leather sheath
Making the Template
First, place the axe 1/4 an inch away from the folder’s centerfold. Doing this allows the leather to compress and bend for stitching.
Also, it enables you to get the blade to the sheath, leaving the leather unsliced.
Trace a line starting from the blade’s tip and trace a line down the curved edge of the blade. Stop the line at the end of the other tip after that.
Measure ½ inch away from the drawn line close to the sword. For every inch or two, make guide marks.
Continue marking after every 1/2 inch to the top of the blade. Draw a semi-circle using a 3/16-inch hole punch.
The sheath should cover the blade by close to 4 inches.
From here, draw the sheath’s top edge connecting with the lower end in a perfect curve.
Afterward, fold the folder and cut out the outer line sheath shape.
Take the cut shape folded in half, and trace it to the other side of the manilla.
Cutting the Leather
You need about 2 square feet of quality leather for all pieces. Cut a perfectly straight edge into the leather and push the leather lightly into a handy measuring tool for excellent results.
Lay down your template on the leather, then trace it with a pencil. When working on thicker leather, rough cut out the whole area where the tracing is.
Cutting thick leather is an uphill task; mostly, you must use a large blade, which could be uncomfortable.
To counter this, we suggest you first wet the leather to make fibers easily cut through.
Use a damp sponge to wet your leather. Afterward, use a sharp pair of Gingher-serrated blade scissors to cut through the thick leather easily.
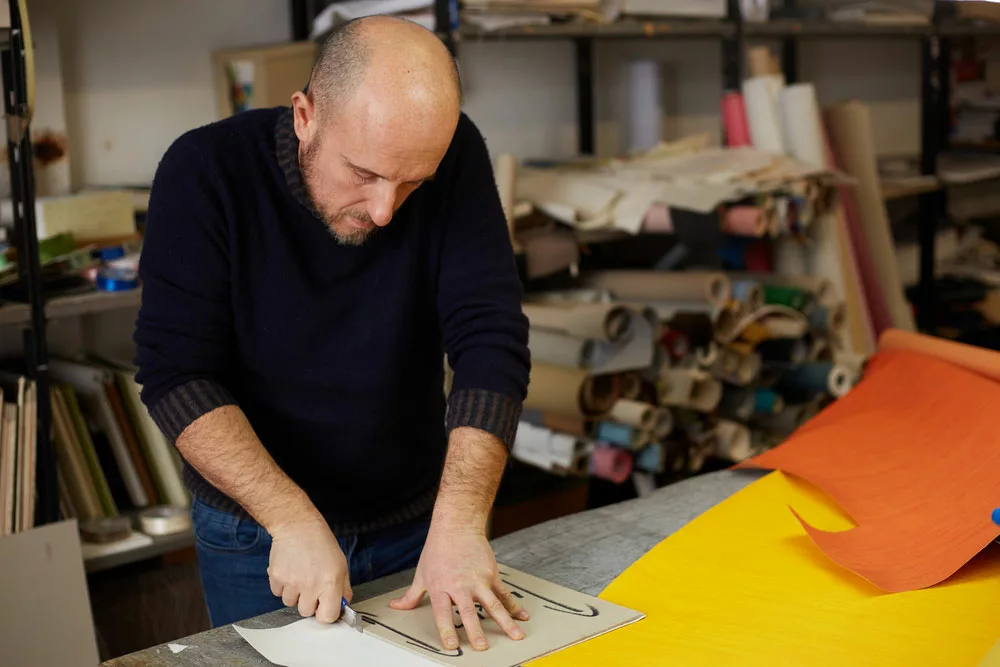
Person cutting leather
Cutting the Strap
Cut your strap extra long, and snip it to size when fitting.
For standard axes, your rough cut should be close to 21 inches. Get a long enough leather section to cut the strap, then lay down your steel ruler.
With the help of an Olfa rolling razor, carefully cut a long straight line close to the edge of the leather to minimize wastage.
We suggest you use a generic strap cutter to make the strap uniformly parallel.
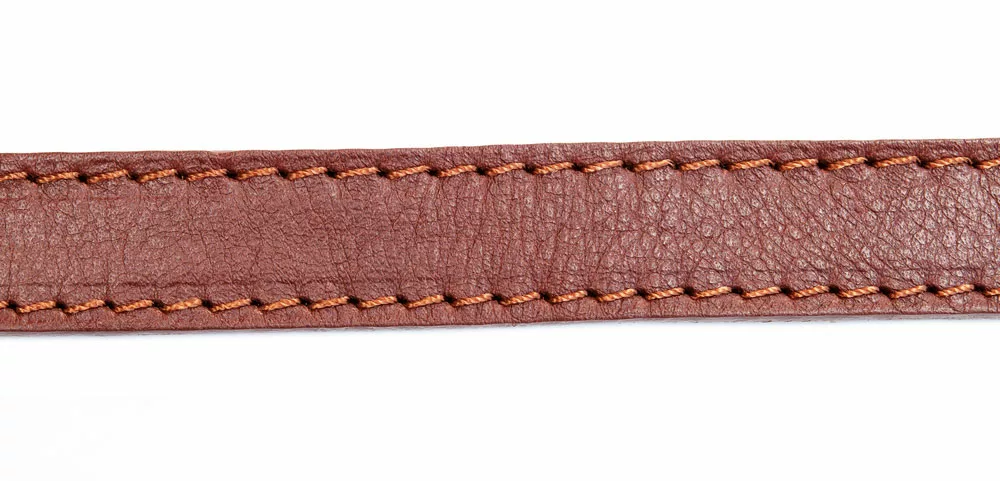
Leather strap.
Clean the Edges
220-grit sandpaper is your best shot if you need perfectly smooth edges. Having completed all the steps, a more uniform surface creates a perfect shine.
Use Stitch Groover to Make the Grooves
A stitch groover creates a cavity in the leather and doesn’t cut the leather. Adjust the edge guide close to twice the stitch grove’s distance.
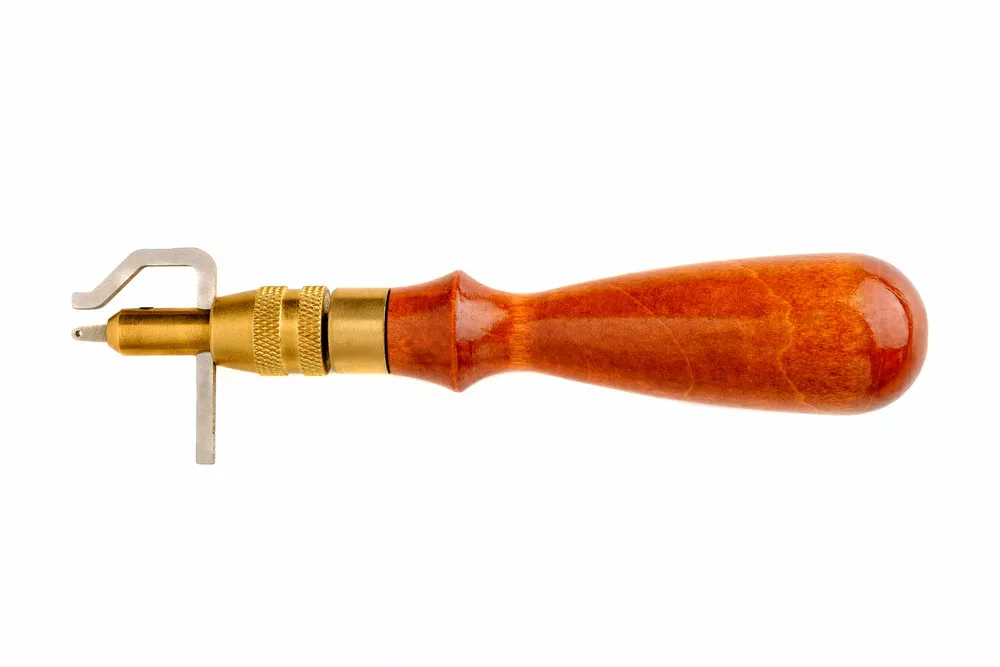
Stitch groover with a wooden handle.
Prepping the Strap
For a better style, use a belt end cutter and a weighted maul with a rubber board beneath.
If you have a plastic cutting board, use it since the end of the blade can penetrate rubber easily.
For the strap edges, lightly wet them like before on the grain side. Adjust the guide to 3/16 inches, then make a line on both sides of the strap.
Afterward, bevel edges on both sides. A Japanese skiving blade bevels better. Use it at an angle and keep the beveled side down.
Gluing the Welt
If you want glue to grip your leather firmer, use 60-grit sandpaper to disfigure the leather. For the glue type, we suggest using those with minimal VOCs.
From experience, we realized a Fiebings glue perfectly befits this action.
Furthermore, sewing needles go through this glue quite quickly. Place a small line down the center of the sheath’s glue area.
Use a silicone glue spreader to spread the glue on the sheath.
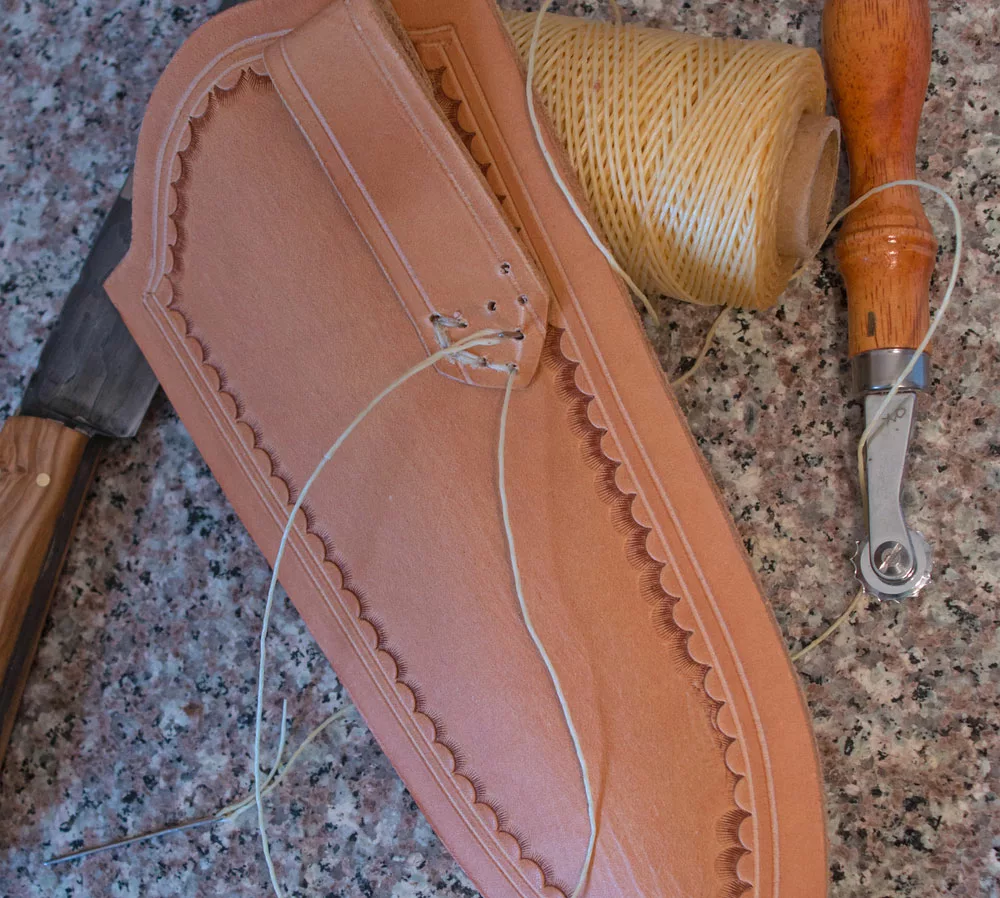
Punching the Stitch Holes
To create perfect stitch holes, use a diamond chisel set. With this in mind, you must use the perfectly placed stitches to your advantage.
Man making stitch holes on leather.
Trimming The Front Edge
Once done with the iron chisel, use a box cutter to trim the edge of the welt closer to the body. Keep your tool perpendicular to the leather to avoid undercutting the leather.
Sand down the welt to align with the leather’s top layer. However, if you over-sand the welt, your stitch line might be too close to the edge.
Edge Dyeing and Finishing Stage
For the best results, we suggest using Fiebling’s Pro Dye. Burn the dauber down to a splendid crisp ball using a lighter. Finalize by dampening the edge with a damp cloth.
Rub vigorously and apply pressure on the edge using a canvas piece. With a burnisher, apply some pressure, feeding the edge through one slot.
Click the sheath to obtain a nice shiny, and smooth edge. Oil wax the sheath and polish the shine back to the edge afterward.
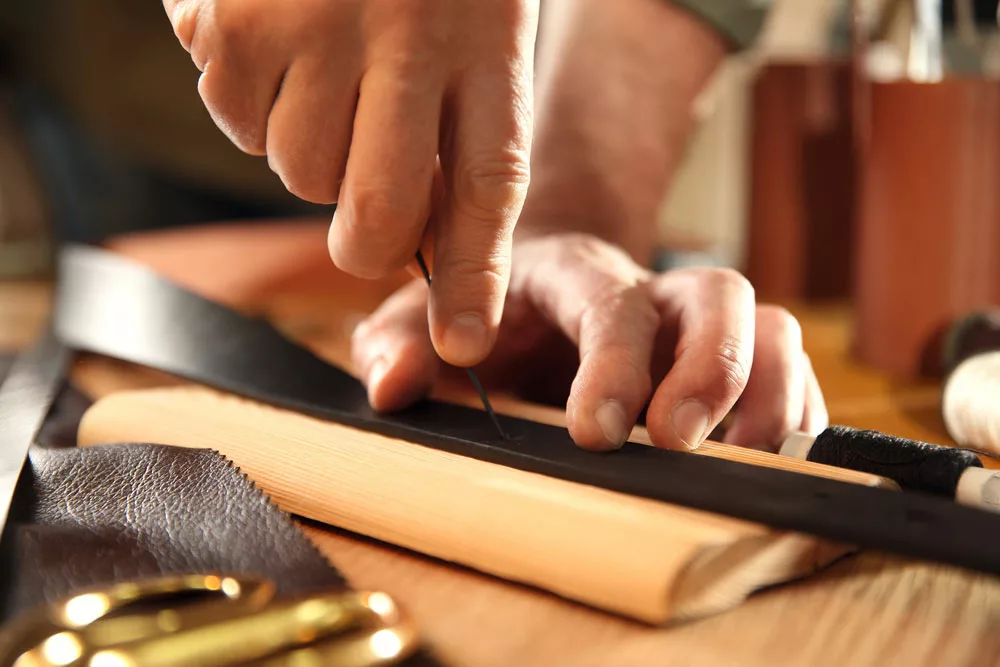
Stitching the Axe Sheath
Clamp your axe sheath to a tabletop stitching pony. To prevent marking the sheath, line the edges of the stitching pony with leather. Use a perfectly sharpened polished awl blade.
Simply punch through a few holes as you progress. Avoid hitting excess spots since they close up along the way.
As you sew the sheath, ensure you pull each stitch tight. After completing your backstitch, use a thread burner to cut your threads off.
Stitching the Sheath
Fitting the Retaining Strap
Rivet the strip on one side, and on the other side, place a ligne 24 snap. Position your strap on the sheath body where you want to rivet it on the backside.
It becomes way more manageable. Make a mark using a scratch awl, where you will punch your hole in the body.
Hot Wax Dripping the Axe Sheath
We prefer using the hot wax dipping method for thick leather items.
It is chemical-free, simple, non-toxic, and long-lasting. Additionally, it lasts longer and is highly water resistant.
Use about half beeswax and half neatsfoot double-boiled in a large enough pot. Heat it for about 45 minutes before you’re ready to dip.
Grip the sheath in the most visible part and drop it into hot wax. However, applying too much heat on the heat gun will ruin your leather.
Edge Polishing
The sheath’s edge loses its luster when you’re hot wax dipping. To reverse this, make little portions of paraffin wax and beeswax.
Finally, using a soft cloth, give the edge a fine buff till the sheath begins forming.
Conclusion
Making a leather axe sheath from scratch is simple, provided you carefully follow the above steps.
If you need more clarification on making an axe sheath, contact us.