
Learning how to make an end grain Wood Cutting board can help take your culinary skills to the next level. It is also a fun and engaging DIY project in your free time.
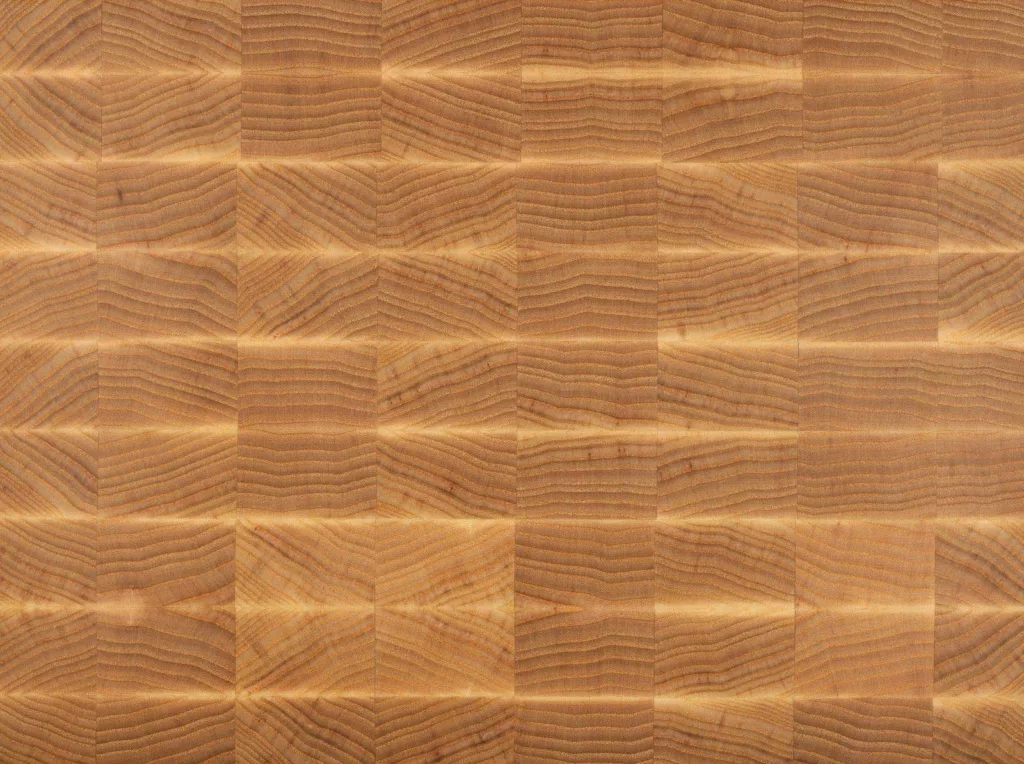
End grain cutting boards offer durability and superior chopping surfaces and are also a beautiful kitchen addition.
In this comprehensive guide, We’ll share tips and insights for achieving exceptional results during every step of the process. So why wait?
Let’s explore how to make an end-grain wood-cutting board that’ll impress even the most skilled artisans.
What To Look Out For In a Quality End Grain Cutting Board?
If you’re trying to get a high-quality end-grain chopping board, there are specific features you need to look out for.
End grain boards are known for their durability and the fact that they help to protect knife edges.
They are hard enough for pounding and soft enough not to dull knives. The features below will help you find a high-quality cutting board.
Low Porosity

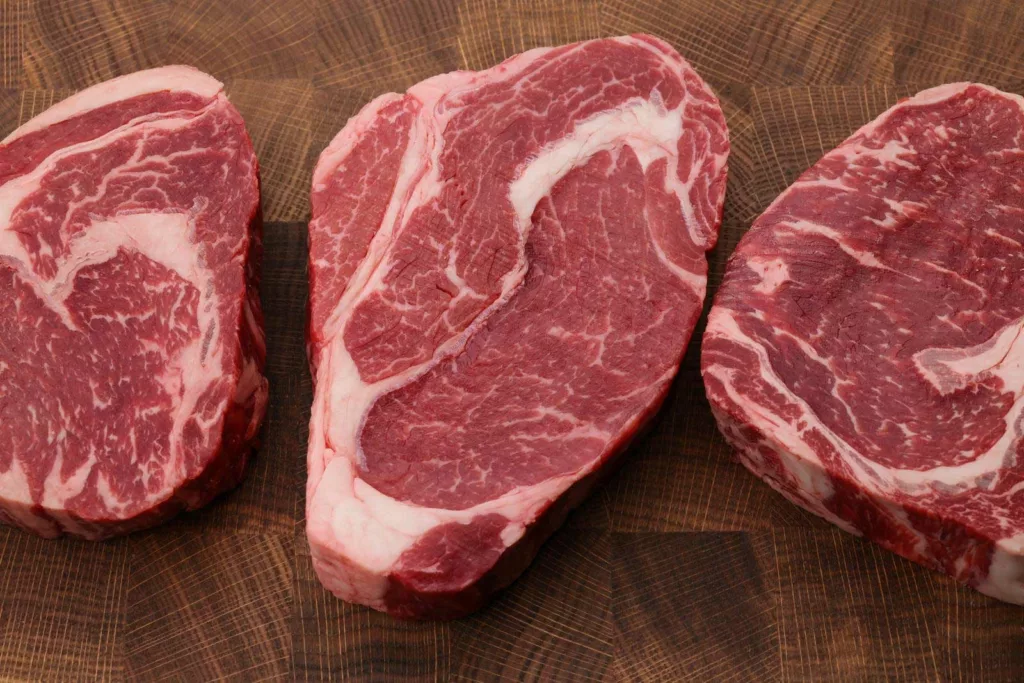
chopping vegetables
In simple terms, porosity measures empty spaces or holes in a material.
Porosity helps us ascertain how much moisture or liquid can pass through a material.
When looking for a cutting board, porosity is an essential factor.
This is because a very porous cutting board will absorb much liquid and lead to warping.
When a board allows too much water, it begins to crack and break.
They even start to accommodate bacteria which can lead to food contamination.
When looking for a quality end-grain cutting board, choose one with low porosity.
You can identify them by looking at the board. If you can see the pores on the cutting board, it has high porosity.
On the other hand, if the pores are invisible to the eye, you have a low porosity cutting board. This should be your choice.
High Janka Hardness Score
The Janka test measures a wood’s resistance to wear and indicates its hardness level.
This test involves driving half the depth of a particular steel ball into the wood sample.
The force required for this activity = the hardness of the wood sample.
The unit of this force is lbf (pound-force). A good quality end grain cutting board should have a Janka score above nine hundred (900 lbf) pound-force.
Sustainability
Wood like Teak, American cherry, African walnut, etc., are the primary raw materials for making end grain cutting boards.
Although these woods are not at serious risk of extinction, there are several ways to ensure it remains that way.
Activities like harvesting responsibly, minimizing production wastes, and applying eco-friendly finishes can help enhance its sustainability.
Size
You should go for large sizes if you are looking for a general-purpose chopping board.
Large cutting boards provide more surface area for cutting and are also more stable when used.
This stability is essential when doing activities such as chopping and pounding on the cutting board.
Thickness
Thickness is an essential factor to consider when looking for a good end-grain cutting board.
A good cutting board should be thick enough to absorb the force from meat pounding.
It should also be able to resist scratches and dents from sharp knives.
However, a cutting board that is too thick is a kitchen hazard as it can cause injury if it drops.
Also, it can be too heavy and challenging to maneuver during chopping.
A good end-grain cutting board should have a thickness of around 2 inches.
How to Make a Basic End Grain Cutting Board
chopping board
Making an end grain cutting board is an engaging DIY activity that can enhance your woodworking skills.
For this operation, the wood of choice is the soft Maple.
Dimensions
We will require several small wood blocks to make an end grain cutting board.
These small maple wood blocks will serve as the foundation of our cutting board.
Making a cutting board of 12 by 16 inches will require 8 of these small blocks.
This is the answer we get when we divide the desired length by that of the small block.
If we do the same with the desired width and that of the small block, we’ll get the same answer.
Cutting the blocks slightly larger than the given dimensions is advisable to compensate for material losses.
These material losses can occur during woodworking processes like planing and sanding.
Mill your lumber
After determining the dimensions of the cutting board and the small blocks, proceed to the mill.
Milling helps to shape the wood to achieve the set dimensions.
Work on the wood and plane to create a smooth surface.
After planting, cut the boards into small blocks. These blocks are the foundational parts of the cutting board.
Rip it up
At this point, get a ripping blade to rip the wood into small blocks of the set dimensions.
Ripping more blocks than is required is advisable to compensate for mistakes that might happen during the process.
First Glue up
Position the blocks in the desired pattern. This pattern can be according to the set dimensions or your personal preference.
Apply a food-safe glue on the edges of the blocks and clamp them together.
Leave the bond to dry for an extended period, maybe throughout the night. After drying, use a chisel or sandpaper to clean up the surface.
Flatten the Glue up
This step involves using woodwork techniques like planing and sanding to remove dried-in glue and create a level board.
This step is essential to attain a smooth and aesthetically pleasing surface and also when resizing the blocks.
Crosscut The Board
This involves placing the glued work on a work surface and creating different sections by cutting through it perpendicularly.
These sections become the individual end-grain pieces of the board.
Smoothen each piece by planing or sanding to create a flat surface.
Second Glue up
After cross-cutting the board into sections, place these sections in a pattern that alternates the grain direction to ensure durability.
Apply a food-safe, high-quality glue to the surfaces and clamp them together.
Sand, Sand, Sand
This step involves gradually smoothing the surface and edges using sandpaper.
This step helps to remove unevenness and roughness across the board. It also helps to reveal the end grain patterns and ensure a flat surface.
Trim The Edges
After sanding, carefully trim the edges using a sharp cross-cut sled to achieve a neat appearance.
To maintain the squareness, use the first trimmed side to reference the other sides.
Finishing Touches
This is the last step of making an end-grain wood-cutting board. It involves applying an end-grain wood finish that enhances the board’s beauty and is food-safe.
Popular cutting board finishes include mineral oil, beeswax, etc. Apply the finish, allow it to soak in, wipe off the excess finish, and leave it to cure.
At this point, you’ve made yourself an end-grain wood-cutting board. Apply finishes periodically in the future to maintain board beauty and quality.
Which Are The Best Wood Sources For End Grain Cutting Boards
cutting board
People prefer end grain cutting boards because they are strong, gentle on knives, and attractive.
Additionally, they are hygienic and resistant to bacteria. These qualities are possible because of the type of wood used to make them.
The best end-grain wood sources are Hard maple, Cherry, Black walnut, Teak, Purpleheart, Beech, etc.
These wood have various characteristics such as durability, low porosity, and bacteria resistance, and they are very hard.
Conclusion
End grain cutting boards are the best choice, mainly because of their durability and beauty. Following the steps in this guide, you can make your own beautiful end-grain cutting board in no time.
ginger on the chopping board